Ah~ it has been a while since I last made a post. So I'll just inform you guys on what happened. Um, where to start, well his headcap magnets fell out. Three out of four got loose from the holes. I put it off for some time since I didn't know how to fix it properly, especially since two fell out at first. I was told that superglue worked best, but I was reluctant since I know that superglue can melt certain types of plastics. But I went for it since I preferred having his magnets in instead of the headcap flying off at the slightest bump to it. After I fixed that the third one fell out! Such luck lol, at least they were glued in the right way.
After that was done, I decided to make him a pair of eyes. I have tried to make them before but, those eyes weren't very successful since they didn't have much depth. So these eyes have some depth, not as great as those nice urethane eyes, but I'm pretty sure they could be if I was more careful and patient with them. But here is the recorded process.
First I started with a pair of similarly sized clay. I didn't really care about the color, since I was going to paint it anyways.
I shaped them into a dome shape, with an indentation in the middle. I tried to add some texture since I wanted the eyes to look more realistic. The clay I used was the oven bake kind, it goes into a preheated oven at 275 degrees for 15 minuets per every 1/4 of an inch I believe.
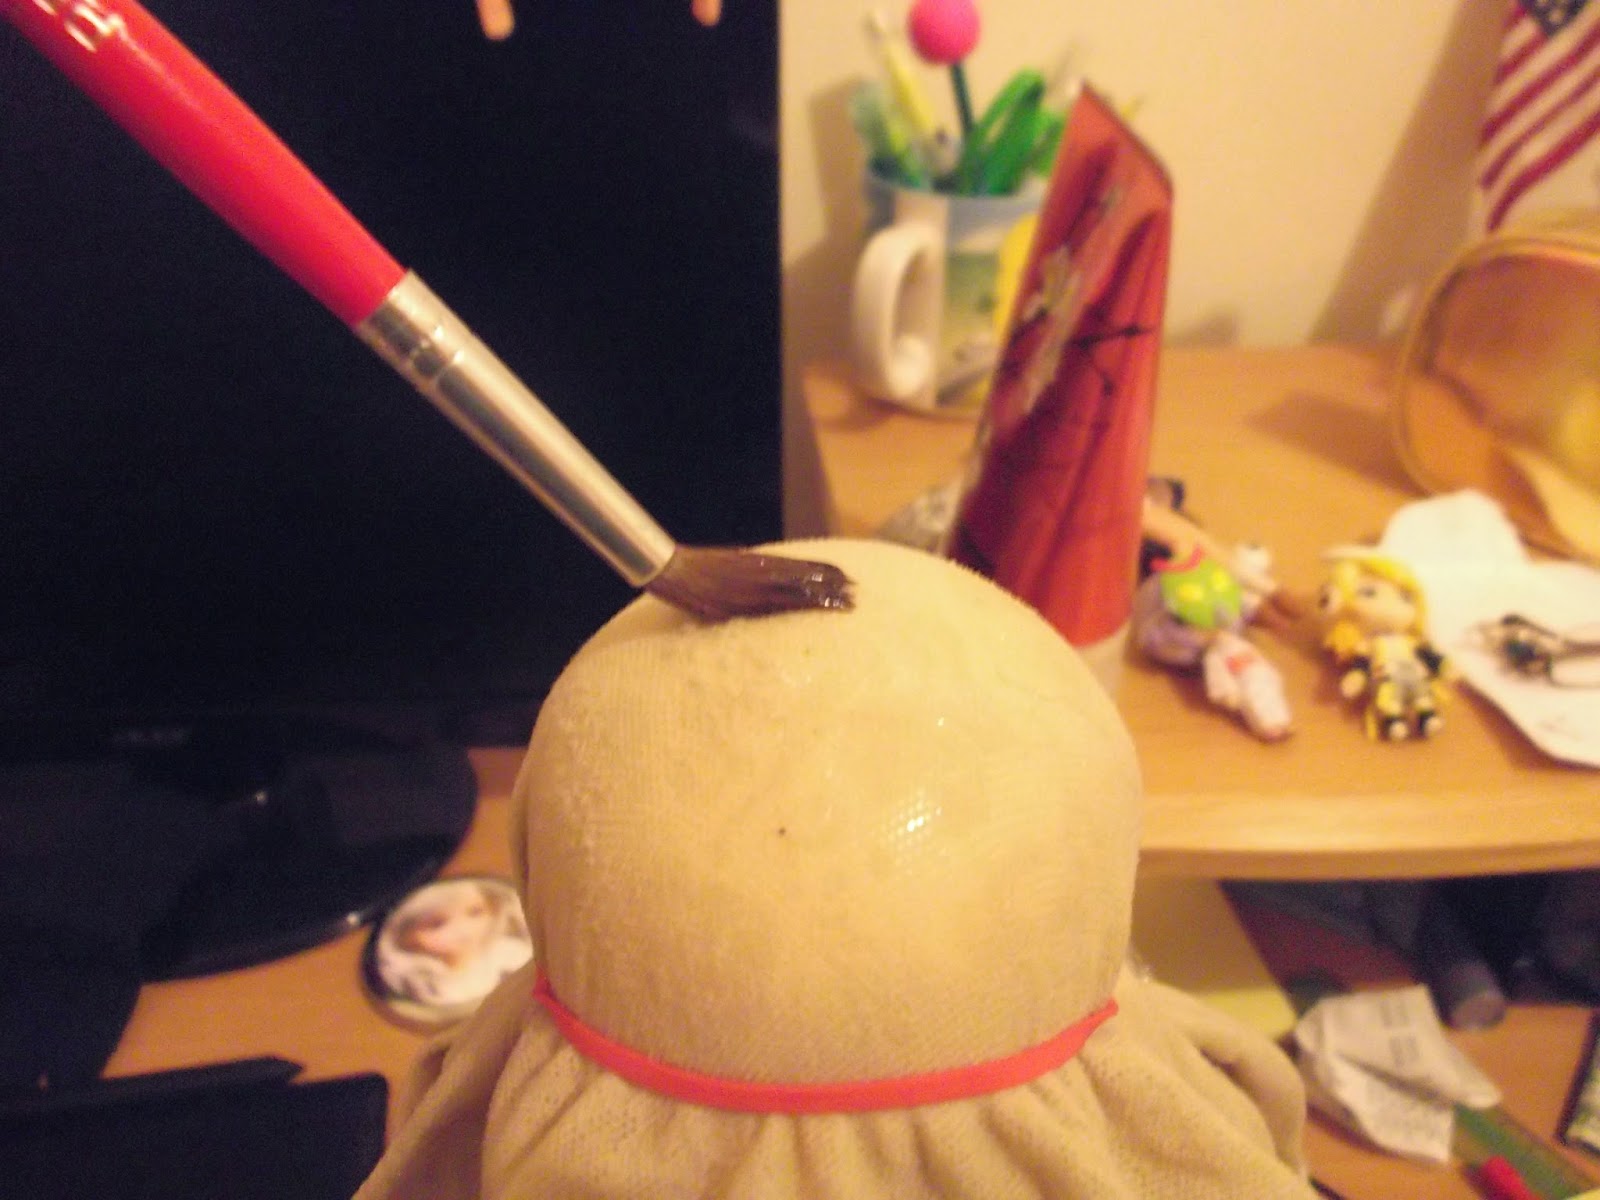
After baking, I let it cool. Then I began to paint, white first,then the iris shade. the pupils were make out of pieces of smaller clay, painted black. For the clear dome on top, I used Blick Artist's Acrylic Gloss Medium to slowly build it up, allowing each layer to dry after applying another coat and did this around the iris area.
Here is them drying. After the clear dome has dried, I applied gloss over the surface to create a shinier surface. Below are close up photos on the eyes. I have to admit though, it looks like it was taken by a DSLR. But nah, I wish I owned one, but I did find a hack for a smart phone that allows it to take better macro photos with a clear dome that magnifies the image. I tried it but a magnifying glass over the lens of my point and shoot.
The photo below came out really weird. Probably because I didn't position it correctly over the lens.
Thanks for reading!
Friday, August 7, 2015
Monday, July 6, 2015
WHOOT! I finished his face up FINALLY!
Finally finished it. And since I had left you guys hanging last time have some photos!
I kinda forgot to record the process...oh well. The eyes were the part of the faceup I'm quite satisfied with. they aren't too heavy or dark like the previous one. I also tried to create the effect of dark circle and veins that I've realized you can't see that well. I'm also really happy with the eyebrows, however i do wish that I would have made the hairs a little bit more visible. And the lips...I've made them way to red for my taste, but at the same time, they do work well. I guess I just have mixed feeling about the lips.
With a eye in, I'm beginning to appreciate the eye shape more. It looks more narrow and relaxed as appose to before where his eyes were really wide. Enjoy the rest of the photos of him put back together!
Sunday, June 28, 2015
Funky Face Up Time again!
I've decided to wipe of his current faceup and give him a new one. I wasn't too pleased with how dark his eyes were, so I'm trying for a natural look.
Below was a mock-up of the face
So far I was able to roughly clean his face. But due to the weather, I wasn't able to remove all of it.
Hopefully when the weather clears I'll be able to fully clean it. See you guys next time!
Below was a mock-up of the face
So far I was able to roughly clean his face. But due to the weather, I wasn't able to remove all of it.
Hopefully when the weather clears I'll be able to fully clean it. See you guys next time!
Tuesday, April 28, 2015
Funky Faceup time
I was bored and felt that Cel needed a new look, something that fit his character more. So just look at the photos below, since I have realized I'm not the best at explaining things. Might provide a sentence or two on trying to explain what I'm doing.
Started to remove the previous face up with rubbing alcohol. Work outside because the smell was just plain nasty strong. Also wear a mask and/ or gloves (if your skin is sensitive or you want to play it safe as the rubbing alcohol made my hand drier then the Sahara.)
This was my first attempt...
It didn't go too well as I ended up wiping it off.
After a one day, I got most, if not all of the basic blushing done.
Kept messing around with the head in all honestly and ended up getting to this point. The watercolor pencils failed me as none of it would show up, probably something went wrong with the sealing.
Morning shot of the next day.
Kept layering the colors, sealing inbetween. I tried using paints for the eyebrows and eyelashes. The eyes look messy, I can do better, but I'm not going to wipe it off as I am too lazy.
AND THAT'S ALL FOLKS! Sealed it twice, and waited for it to dry. I then glossed the lips and waterline.
Saturday, April 11, 2015
The Wig Making Thing Part 2!
Gluing and gluing...
Till I reached the the hair part, and then started gluing the hair down by gluing it in the opposite directions and then folded the weft over. I used glue to hold down the wefts the stick up.
While making the wig, I get a little distracted and sorta impatient and began to style it....
** on flickr
Saturday, March 21, 2015
That wig making thing I was suppose to post....
Hey guys, I made some crazy changes to my blog. Sorry for not posting the progress photos, I was kinda busy with school. But I have taken some progress shoots so, enjoy! I'll be breaking up what I've done into several parts since i feel it would be over-crowed.
In the photo below, I have finished making his wig cap, adding about 2-3 layers of glue.
I then trimmed the wig and creating a hairline. I just used a pencil to sketch out were I wanted the hairline to be.
Here's the wig after it has been trimmed.
After combing it out.
In the photo below, I have finished making his wig cap, adding about 2-3 layers of glue.
I then trimmed the wig and creating a hairline. I just used a pencil to sketch out were I wanted the hairline to be.
Here's the wig after it has been trimmed.
For the hair, I just used yarn. By combing out the yarn, the fiber are less together? I really don't know how to describe the yarn becoming more hair like, BUT THE PICTURES WILL SHOW YOU! Also, you will end up losing a lot of fiber, the more the merrier if you want a fuller and thicker looking wig. And disclaimer, I cannot take credit for this idea, since I came across it on Google while searching for a wig making tutorial. However, I can say that you'll find more details on the matter by searching for "brushed yarn wig."
After combing it out.
Sunday, March 15, 2015
Updates #3 + Wig Making Day 1
It honestly takes two months for each post...Anyways, I'm going to be making a wig and will show my progress on this blog. Also, I recently made an Instagram => instagram.com/natsukibjd/, the account is for both my BJDs and personal.
Adding the glue on.
Omake: I liked how his smile looked.
I'm going to attempt to make a wig using yarn. So far, I'm making the wig cap, possibly tomorrow, I'll add a second layer of glue to maker it stiffer. Do excuse my messy background.
Adding the glue on.
Omake: I liked how his smile looked.
Subscribe to:
Posts (Atom)