Pages

Saturday, March 21, 2015

That wig making thing I was suppose to post....

Hey guys, I made some crazy changes to my blog. Sorry for not posting the progress photos, I was kinda busy with school. But I have taken some progress shoots so, enjoy! I'll be breaking up what I've done into several parts since i feel it would be over-crowed.

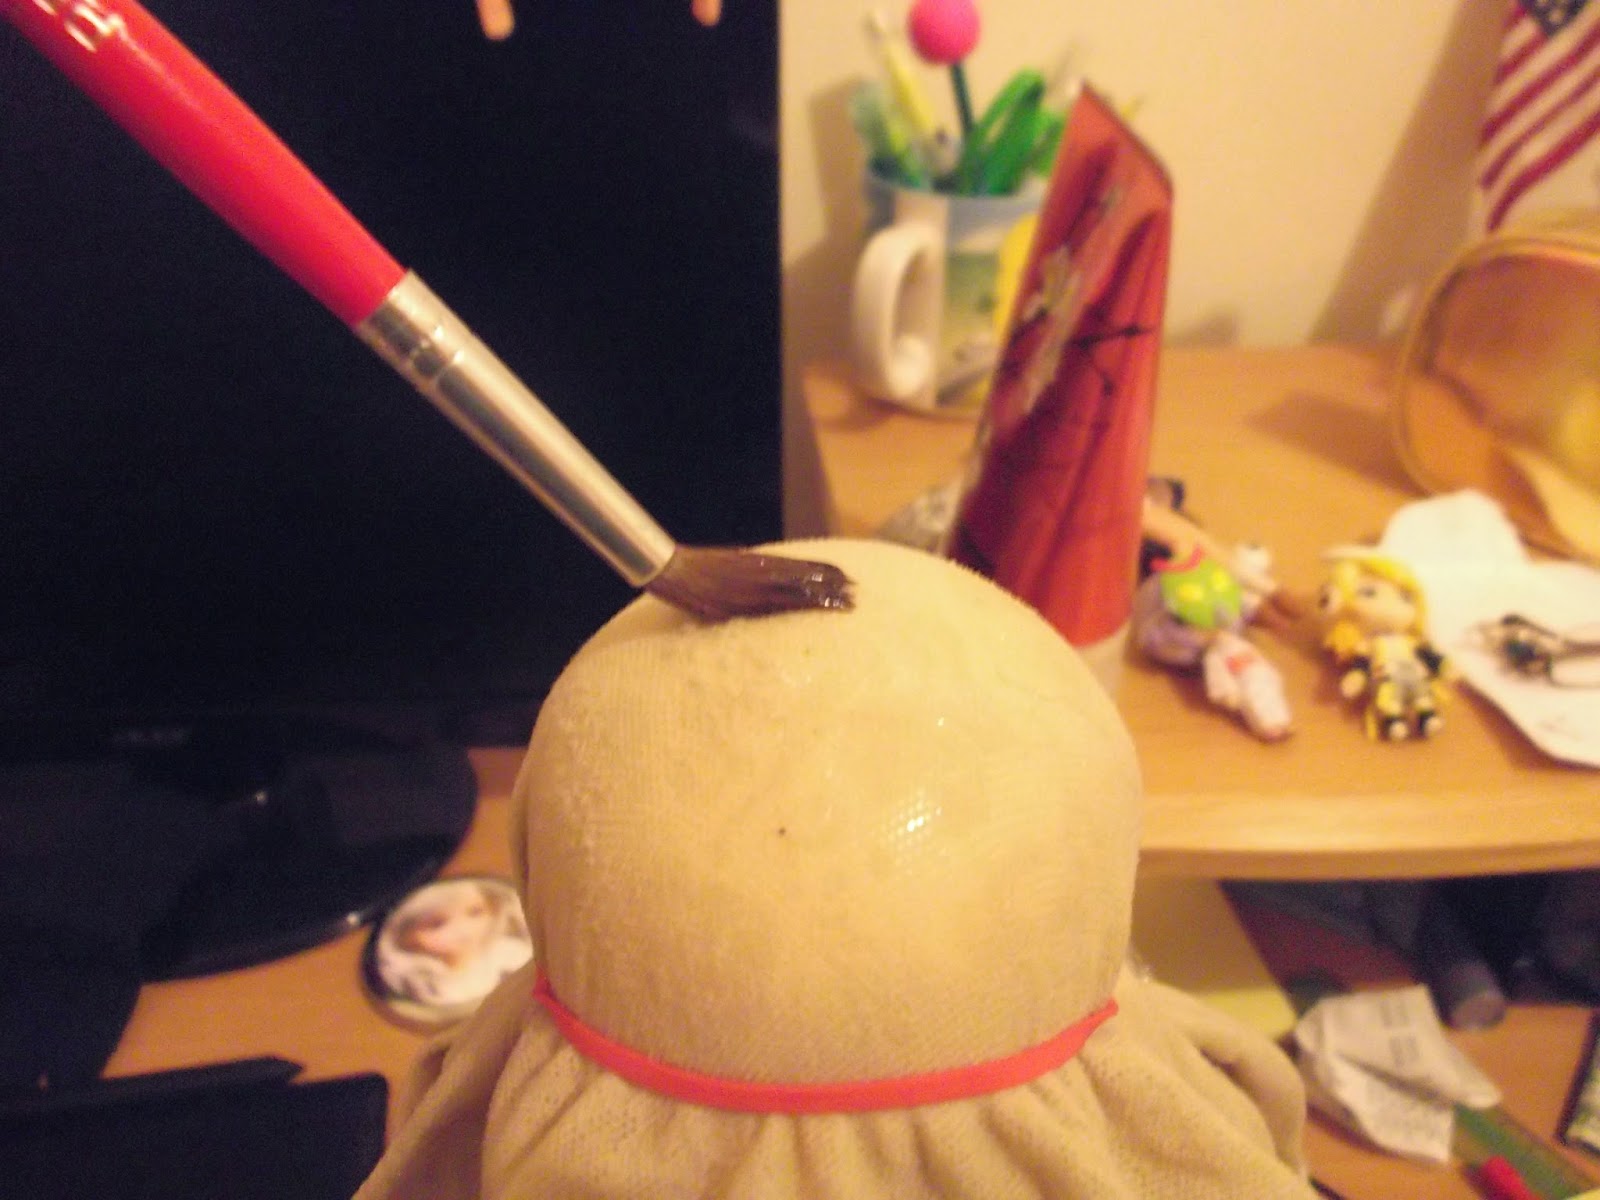
In the photo below, I have finished making his wig cap, adding about 2-3 layers of glue.


I then trimmed the wig and creating a hairline. I just used a pencil to sketch out were I wanted the hairline to be.


Here's the wig after it has been trimmed.


For the hair, I just used yarn. By combing out the yarn, the fiber are less together? I really don't know how to describe the yarn becoming more hair like, BUT THE PICTURES WILL SHOW YOU! Also, you will end up losing a lot of fiber, the more the merrier if you want a fuller and thicker looking wig. And disclaimer, I cannot take credit for this idea, since I came across it on Google while searching for a wig making tutorial. However, I can say that you'll find more details on the matter by searching for "brushed yarn wig."


After combing it out.


Sunday, March 15, 2015

Updates #3 + Wig Making Day 1

It honestly takes two months for each post...Anyways, I'm going to be making a wig and will show my progress on this blog. Also, I recently made an Instagram => instagram.com/natsukibjd/, the account is for both my BJDs and personal.

I'm going to attempt to make a wig using yarn. So far, I'm making the wig cap, possibly tomorrow, I'll add a second layer of glue to maker it stiffer. Do excuse my messy background. 


                                                                      Adding the glue on.


                                                 Omake: I liked how his smile looked.